
There’s something deeply satisfying about opening a jar of home-canned green beans in the middle of winter and tasting a little bit of summer. If you’ve got a garden full of fresh beans or picked up a haul at the farmer’s market, pressure canning is the safest and most effective way to preserve them for the long haul.
Whether you’re brand new to canning or just need a refresher, here’s a step-by-step guide to pressure canning green beans at home.
🌿 Why You Must Use a Pressure Canner for Green Beans
Green beans are a low-acid vegetable, which means they must be pressure canned — not water bath canned — to prevent the risk of botulism. Don’t worry, it’s simpler than it sounds, and once you get the hang of it, you’ll feel like a canning pro.
🛒 What You’ll Need
Equipment:
- Pressure canner (not a pressure cooker)
- Quart or pint-sized canning jars with lids and bands
- Jar lifter, funnel, bubble remover (optional but helpful)
- Towel or mat for cooling jars
Ingredients:
- Fresh green beans (washed and trimmed)
- Non-iodized salt (optional – ½ tsp per pint or 1 tsp per quart)
- Boiling water
🥣 Hot Pack vs. Raw Pack
Raw Pack: Easiest. Just pack raw green beans into jars and pour boiling water over the top.
Hot Pack: Boil beans for 5 minutes before packing. Helps them shrink, so more fit in each jar.
Both methods are safe — choose what works best for you.
🔪 Step-by-Step: Pressure Canning Green Beans
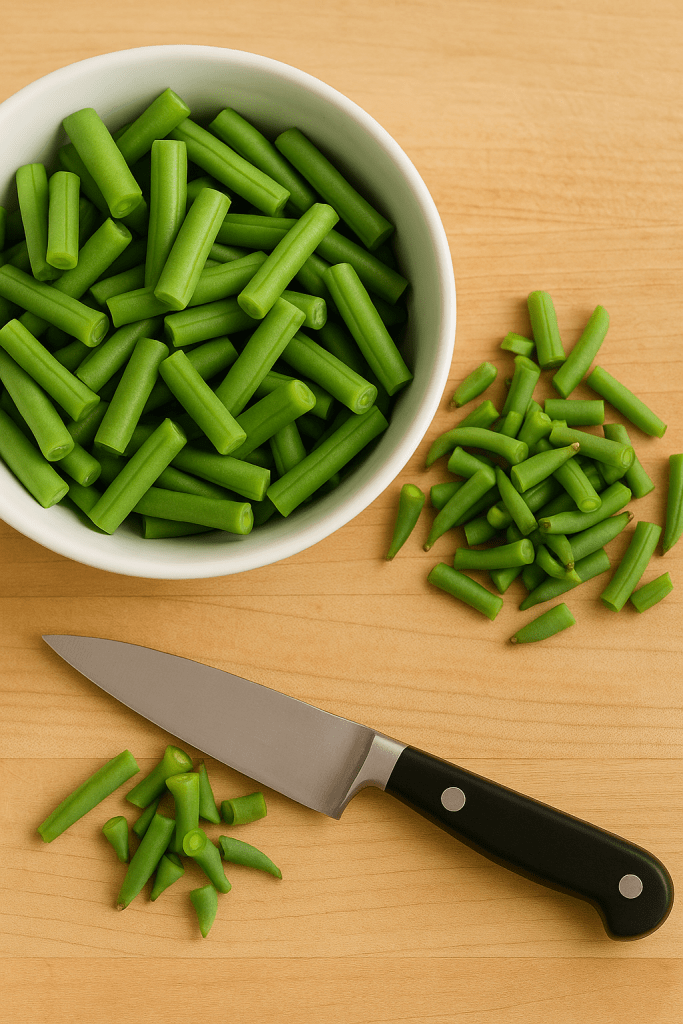
- Prep Your Green Beans
Wash, trim the ends, and cut into 1–2 inch pieces (or leave whole if you like). - Sterilize Jars
Wash jars in hot soapy water or run them through the dishwasher. Keep them warm until ready to fill. - Pack the Jars
Raw or hot pack green beans into the jars, leaving 1-inch headspace at the top. Add optional salt. - Add Boiling Water
Pour boiling water into jars, still leaving 1-inch headspace. Remove air bubbles and adjust headspace if needed. - Wipe Rims & Add Lids
Wipe jar rims clean with a damp cloth. Place lids and tighten bands to fingertip-tight. - Load the Pressure Canner
Follow your canner’s manual to add water and load the jars. Lock the lid in place. - Process Your Jars
Pint jars: 20 minutes
Quart jars: 25 minutes
Pressure:
10 lbs for dial-gauge canners
11 lbs for weighted-gauge (adjust for altitude if needed)
- Cool & Store
Let the pressure return to zero naturally. Remove jars and let them cool on a towel for 12–24 hours. Check seals, label with date, and store in a cool, dark place.
💡 Tips for Success
Choose young, tender beans for best texture.
Don’t overtighten jar bands — fingertip-tight is just right.
Never force a canner to depressurize faster — that’s a recipe for broken jars.
🧺 From Garden to Pantry
Canning green beans is one of those simple homestead tasks that pays off all year long. With just a little effort now, you’ll be enjoying your harvest long after the plants have faded.
Let me know in the comments if you give this a try — or if you have any favorite green bean recipes I should try!

Leave a comment